I’m deploying a static Astro site on Cloudflare Pages. I decided to try deploying on Workers since Cloudflare is shifting focus to Workers and recommends using Workers in Astro document.
I used my Astro website theme “nagi” for this deploy test.
- Theme detail: https://yohaku.dev/ja/theme/nagi/
- Demo: https://nagi-6tu.pages.dev/
Comparison
Requirements
- Static site build with Astro
- Astro v6.1.4
- @astrojs/cloudflare v13.2.1
Instructions
Approach 1: Using Wrangler Deploy Command
Run Wrangler depoly command in your Astro projec. If you don’t have the Wrangler configuration, autoconfig runs to detect your project.
Run
wrangler deployin a project without a Wrangler configuration file and Wrangler will automatically detect Astro, generate the necessary configuration, and deploy your project.
npx wrangler deployAfter run the command, proceed according to the terminal.
Need to install the following packages:
wrangler@4.85.0
Ok to proceed? (y)
In the project settings, you can change the details by typing y.
Detected Project Settings:
 - Worker Name: nagi
 - Framework: Astro
 - Build Command: npm run build
 - Output Directory: dist

Do you want to modify these settings? (y/N)
Next, installing the packages.
Install packages:
 - wrangler (devDependency)

📝 Update package.json scripts:
 - "deploy": "npm run build && wrangler deploy"
 - "preview": "npm run build && wrangler dev"

🛠️  Configuring project for Astro with "astro add cloudflare"

? Proceed with setup? › (Y/n)
After install the packages, Wrangler authentication will be opened in your browser.
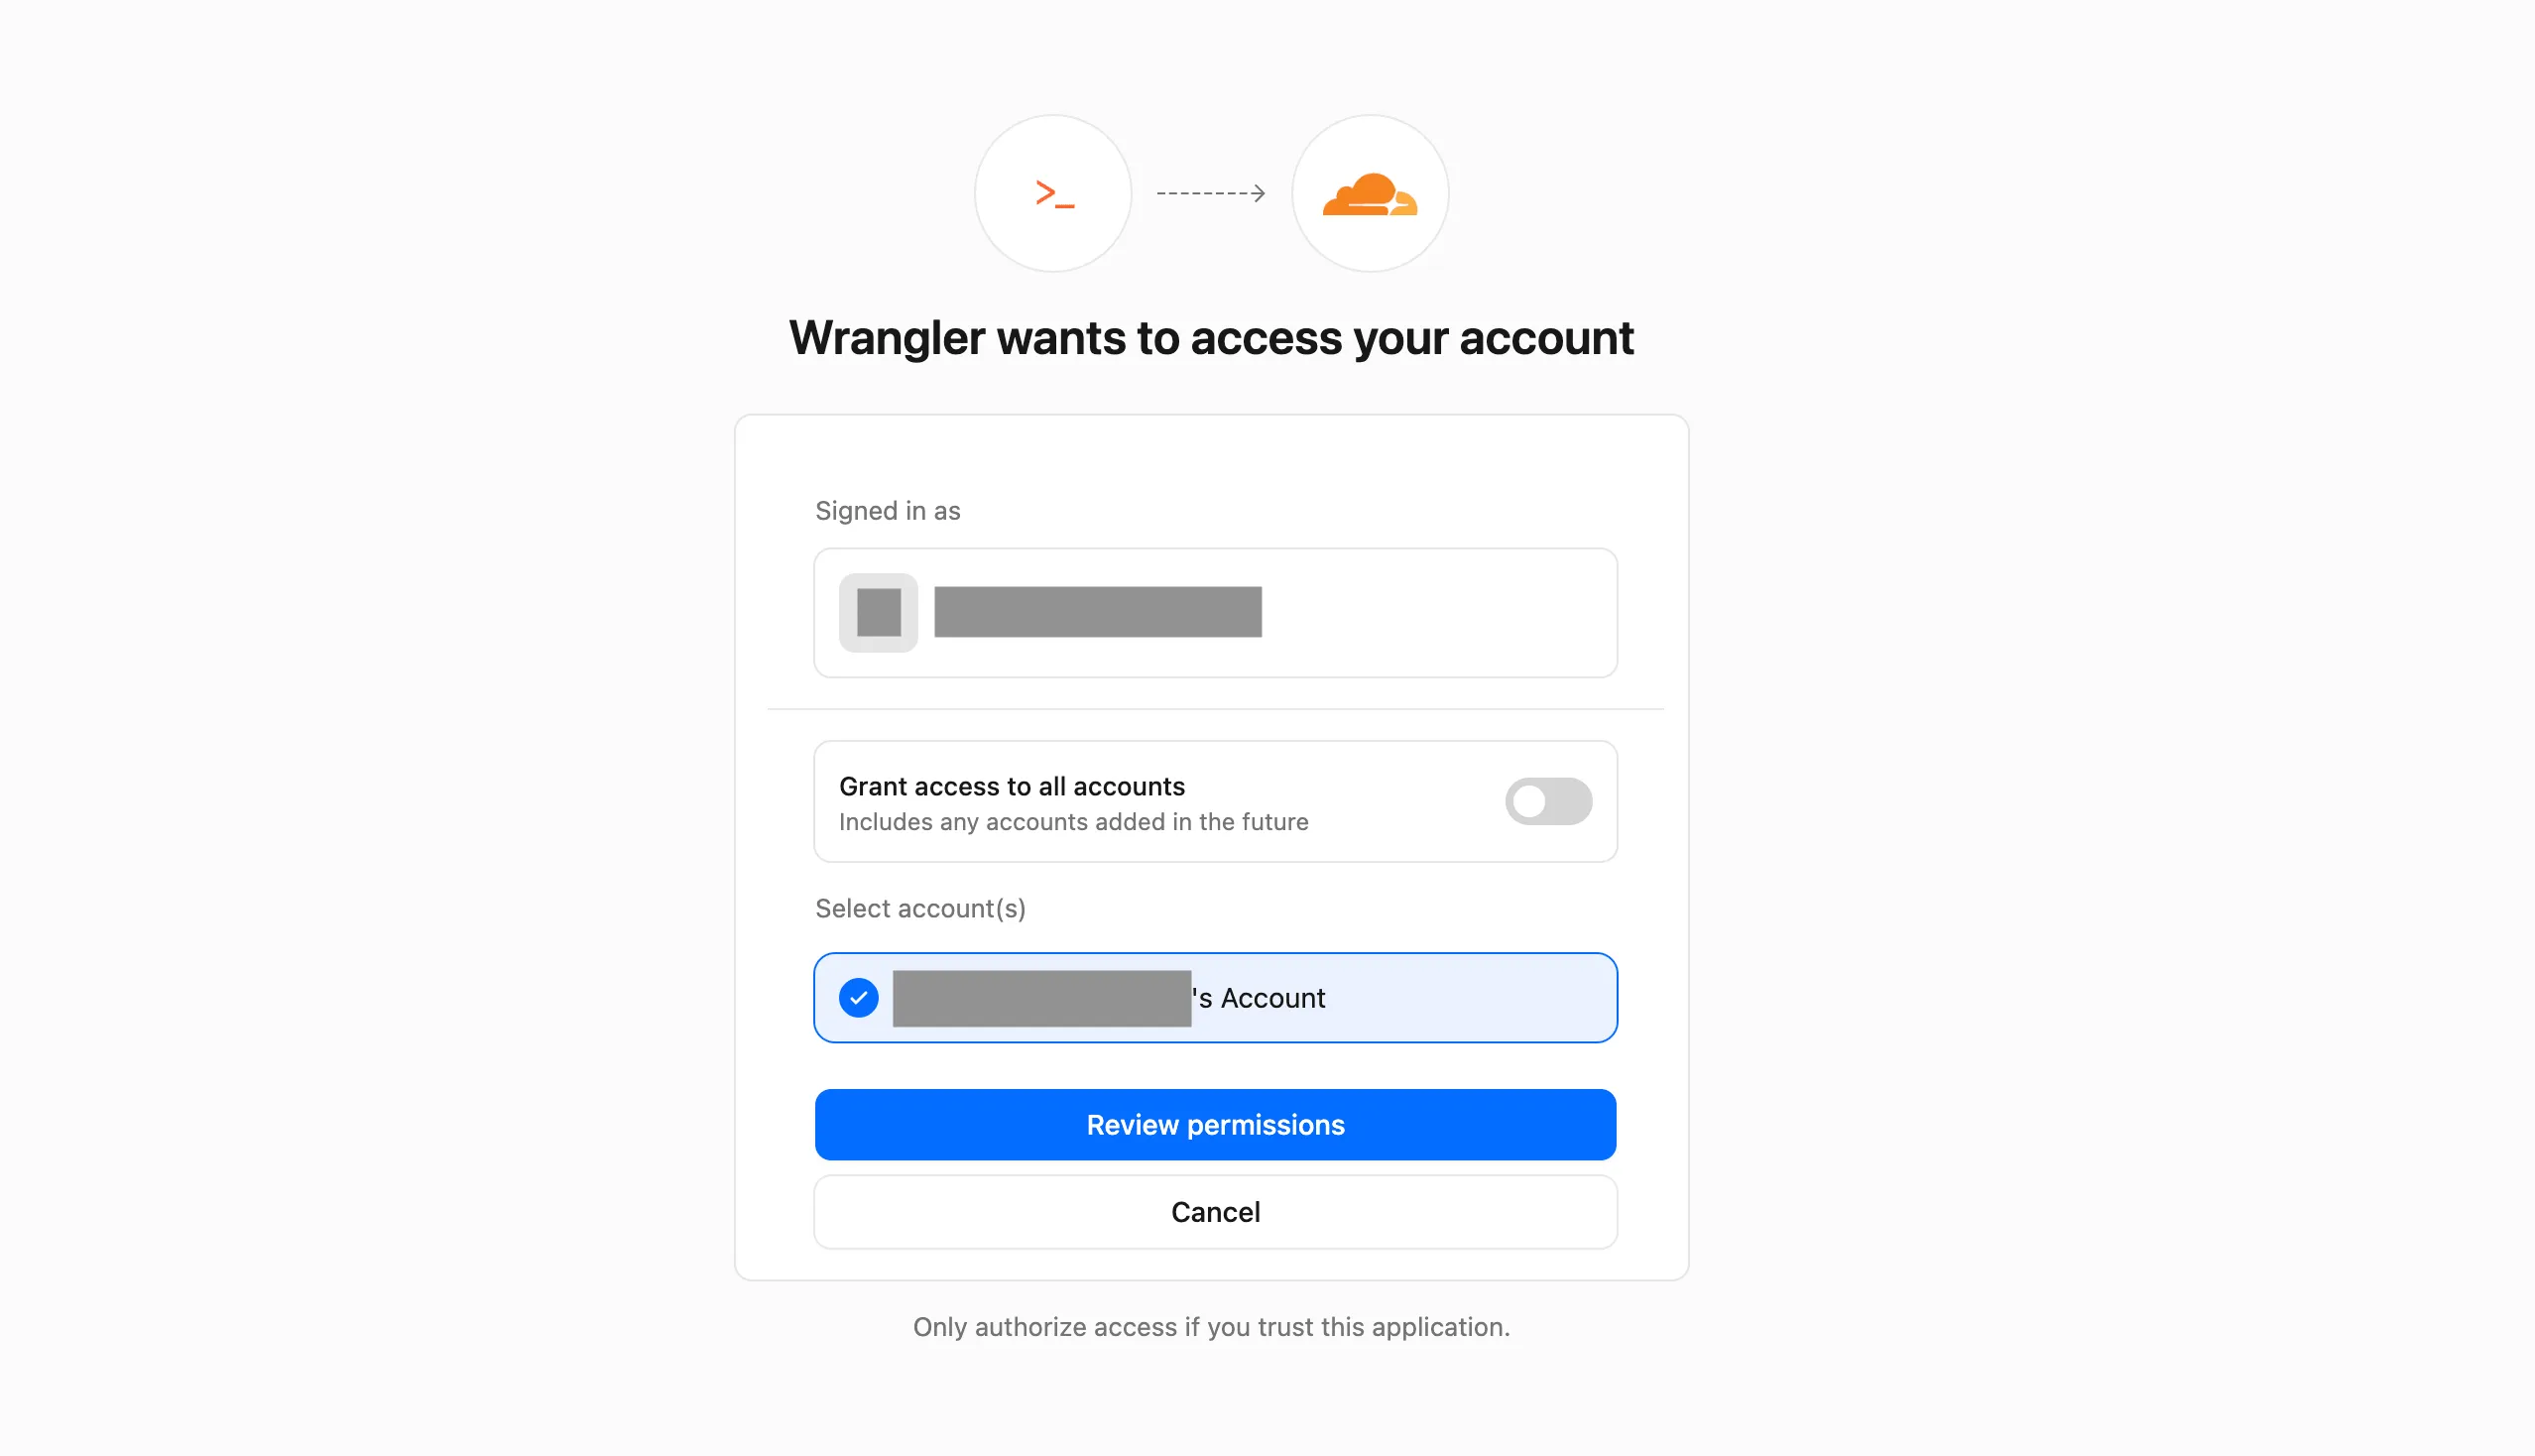
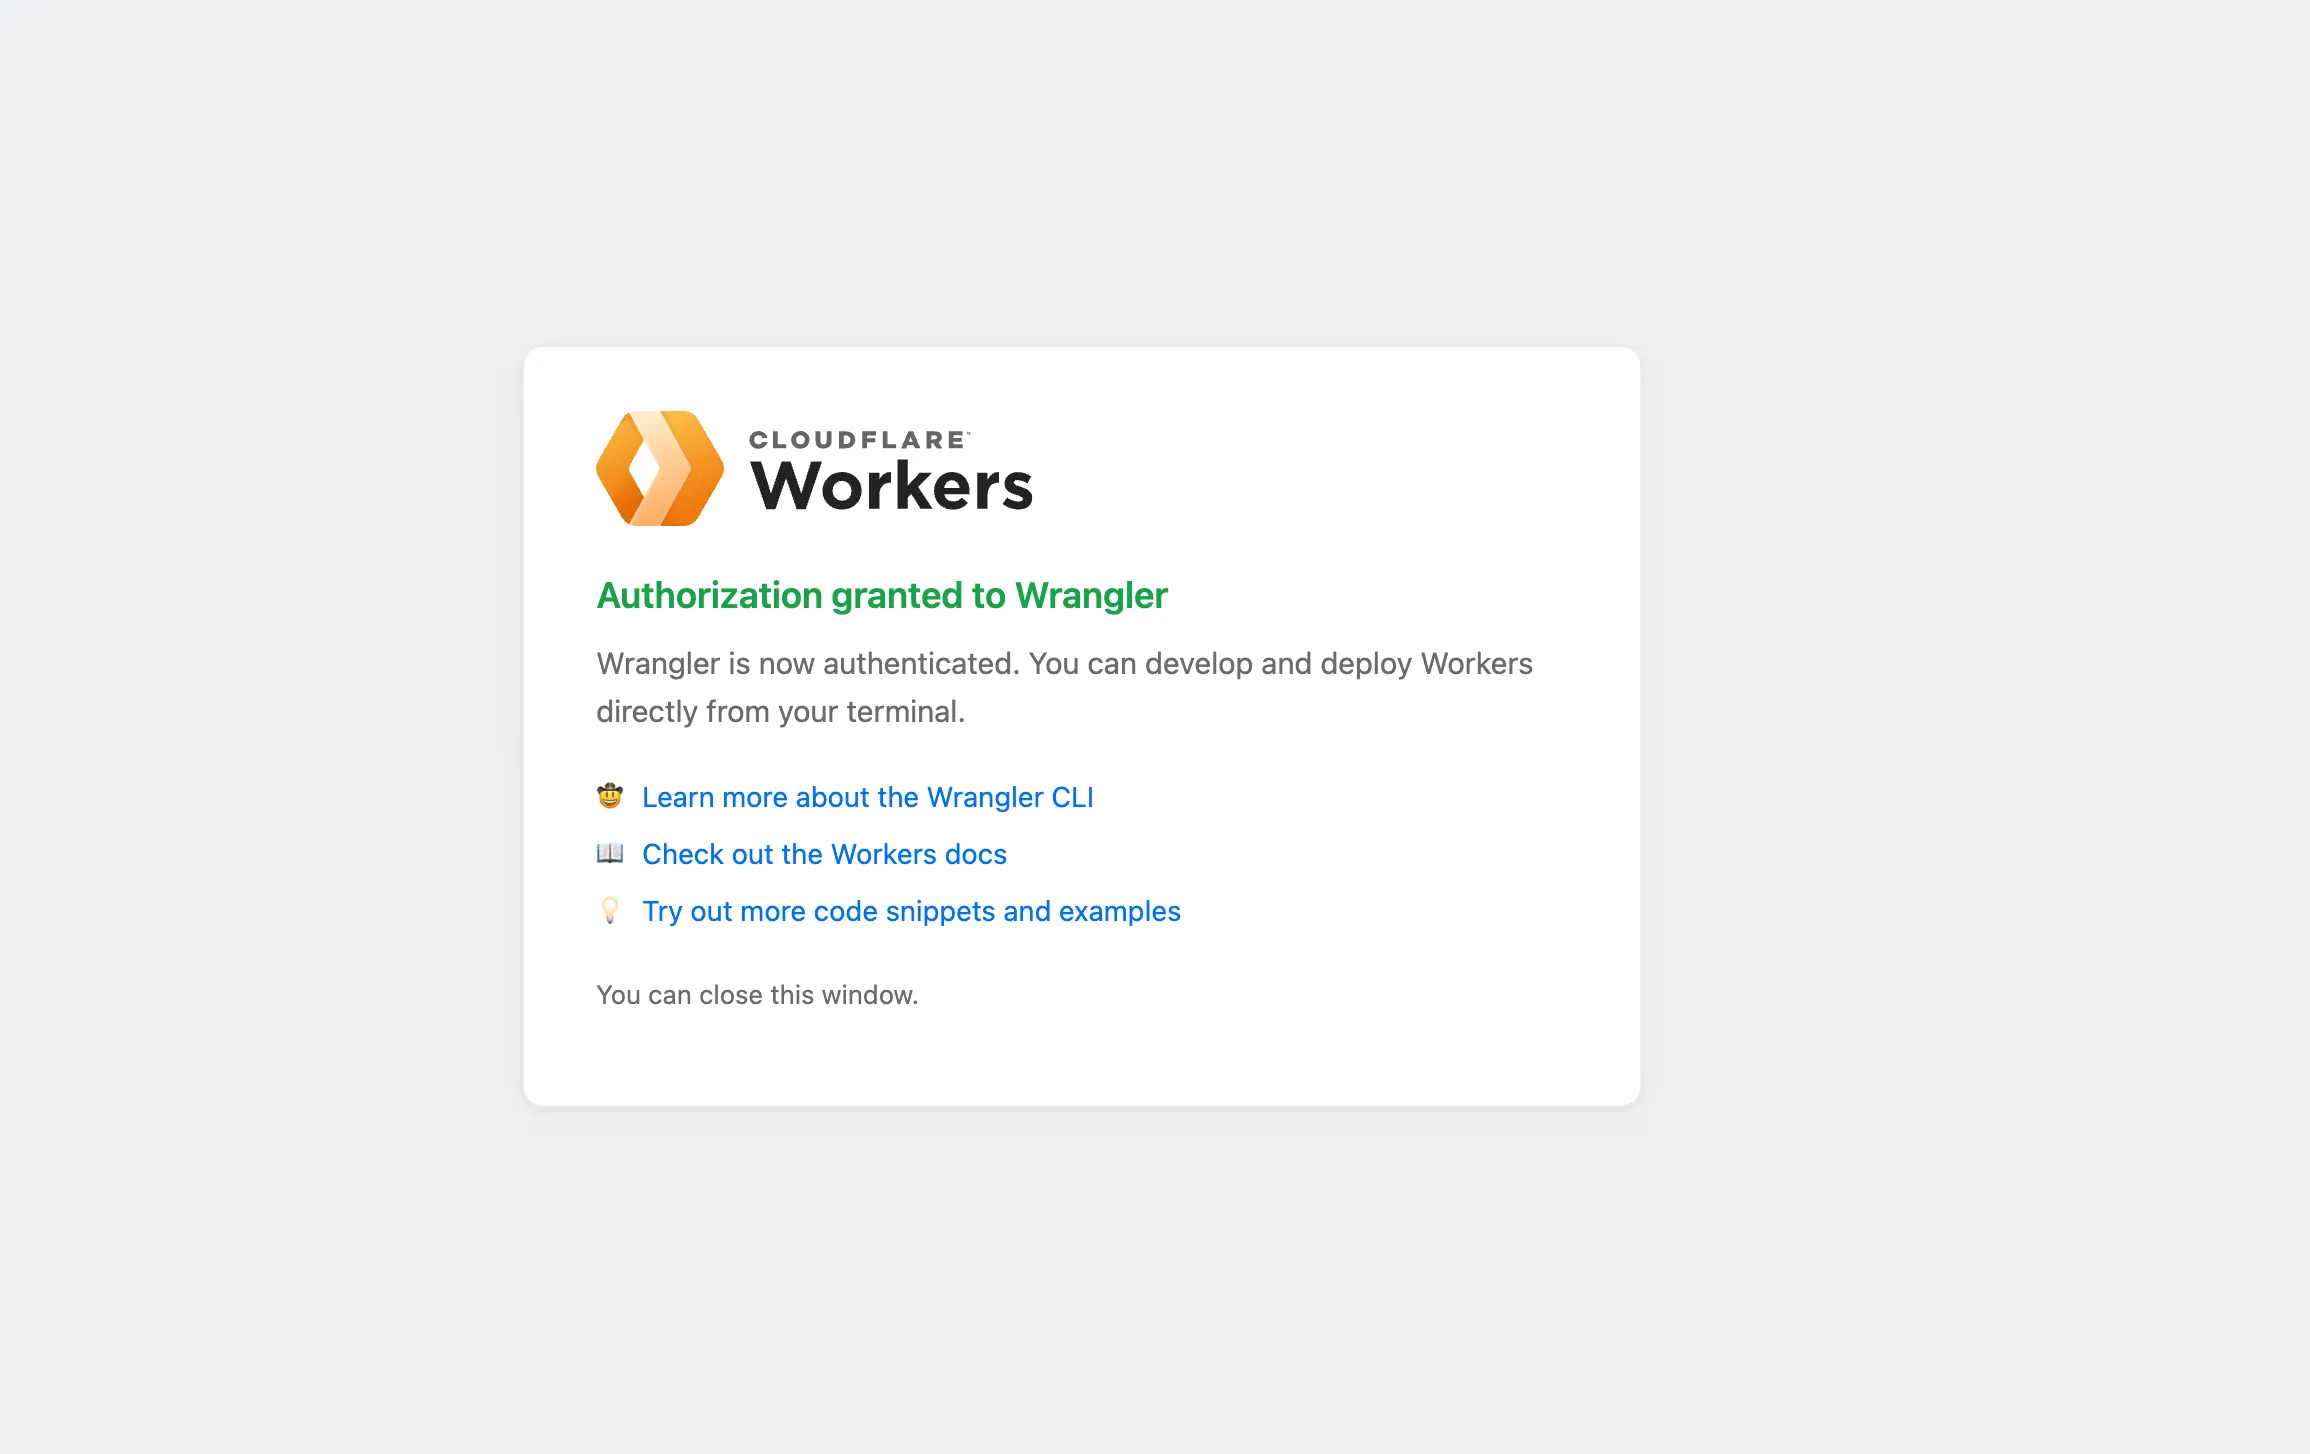
When authenticated, start deploying on Workers.
Once build is done, you can see your project in your Cloudflare dashboard > Workers & Pages.
Code Differences
Here’s the code differences after autoconfig.
# package.json

{
  "scripts": {
    ...
-   "preview": "astro preview",
+   "preview": "npm run build && wrangler dev",
    ...
+   "generate-types": "wrangler types",
+   "deploy": "npm run build && wrangler deploy"
  },
  "dependencies": {
+   "@astrojs/cloudflare": "^13.2.1",
    ...
  },
  "devDependencies": {
    ...
+   "wrangler": "^4.85.0"
  },
+ "overrides": {
+   "vite": "^7"
+ }
}
# astro.config.mjs
...
+ import cloudflare from "@astrojs/cloudflare";
// https://astro.build/config
export default defineConfig({
...
+ adapter: cloudflare(),
});# wrangler.jsonc
+{
+ "compatibility_date": "2026-04-27",
+ "compatibility_flags": [
+ "global_fetch_strictly_public"
+ ],
+ "name": "YOUR-PROJECT-NAME",
+ "main": "@astrojs/cloudflare/entrypoints/server",
+ "assets": {
+ "directory": "./dist",
+ "binding": "ASSETS"
+ },
+ "observability": {
+ "enabled": true
+ }
+}# public/.assetsignore
+ _worker.js
+ _routes.jsonSome Fixing Required
Build was done without any problem, but all images in the project were 404. So I needed to change some settings for static site.
# package.json

{
  ...
  "dependencies": {
-   "@astrojs/cloudflare": "^13.2.1",
    ...
  },
  ...
}
# astro.config.mjs
...
- import cloudflare from "@astrojs/cloudflare";
// https://astro.build/config
export default defineConfig({
...
- adapter: cloudflare(),
+ output: "static",
});# wrangler.jsonc
{
"compatibility_date": "2026-04-27",
"compatibility_flags": [
"global_fetch_strictly_public"
],
"name": "YOUR-PROJECT-NAME",
- "main": "@astrojs/cloudflare/entrypoints/server",
"assets": {
"directory": "./dist",
- "binding": "ASSETS"
},
"observability": {
"enabled": true
}
}Approach 2: Deploying from GitHub Repository
Click “Create application” in Cloudflare Dashboard > Workers & Pages.

Then click “Continue with GitHub” and choose the repository you want to deploy. Once build is done, move to Overview page.
In this approach as well, if you don’t have Wrangler configuration, autoconfig runs and detect your project, and then pull request will be generated.
After build, I got all images 404 as happened in Approach 1, I changed the code as I did in the first approach.
Conclusion
In both approaches, some manual fixes were required. Personally, Approach 2 felt smoother since it connects directly to a GitHub repository.